Introduction
Apache is one of the most widely-used web server applications globally, known for its reliability, rich feature set, and robust performance. AlmaLinux is an open-source, community-driven Linux distribution designed to provide a free, enterprise-grade alternative to commercial Linux platforms. Combining Apache with AlmaLinux offers a stable and powerful foundation for web hosting.
This guide shows you how to install Apache on AlmaLinux 8.
Prerequisites
Before you get started, ensure you've:
- An AlmaLinux 8 server. We recommend a Digital Ocean VPS server.
- A non-root sudo user.
Install Apache
Apache is available from the default AlmaLinux package repository. Update your system to enhance security and performance. After updating, you can install Apache and verify the installation.
-
Refresh your system’s packages.
CONSOLE$ sudo dnf update -y -
Install Apache.
CONSOLE$ sudo dnf install httpd -y -
Confirm the Apache version to ensure you've installed the package.
CONSOLE$ httpd -v
Manage Apache Service
Apache runs under the httpd service. You can manage Apache using the systemctl command, which allows you to start, enable, stop, restart, and check the status of the service.
-
Start Apache.
CONSOLE$ sudo systemctl start httpd -
Enable Apache to start on boot.
CONSOLE$ sudo systemctl enable httpd -
Stop Apache.
CONSOLE$ sudo systemctl stop httpd -
Restart Apache.
CONSOLE$ sudo systemctl restart httpd -
Check Apache status.
CONSOLE$ sudo systemctl status httpd
Understand Apache Configuration Files
You can use Apache configuration files, logs, and error files to manage the webserver and troubleshoot issues. These files enable you to control server behavior, monitor activity, and identify issues.
-
Main configuration file. Contains the primary settings for Apache.
/etc/httpd/conf/httpd.conf -
Additional configuration directory.Contains supplementary configuration files.
/etc/httpd/conf.d/ -
Access log file. Logs all requests received by the server.
/var/log/httpd/access_log -
Error log file. Logs all errors encountered by the server.
/var/log/httpd/error_log
Allow Apache Through the Firewall
A firewall helps protect your server by managing network traffic. To ensure Apache functions correctly, you need to allow the necessary ports through the firewall.
-
Allow HTTP traffic.
CONSOLE$ sudo firewall-cmd --permanent --add-service=http -
Allow HTTPS traffic.
CONSOLE$ sudo firewall-cmd --permanent --add-service=https -
Reload the firewall to apply changes.
CONSOLE$ sudo firewall-cmd --reload -
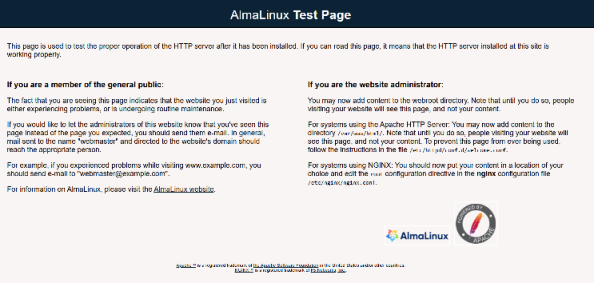
Visit your server's public IP address and verify the default Apache AlmaLinux page.
Serve a Sample Website with Apache
To verify that Apache is working, create a test HTML page. The sample page confirms that Apache is correctly serving content.
-
Create a sample HTML file.
CONSOLE$ sudo nano /var/www/html/index.html -
Add the following content to the file.
HTML<html> <head> <title>Welcome to Apache on AlmaLinux!</title> </head> <body> <h1>Success! Apache is running on AlmaLinux.</h1> </body> </html> -
Access the HTML page in a web browser. Replace
http://192.168.0.1with your servers public IP address.http://192.168.0.1Output:
Success! Apache is running on AlmaLinux.
Conclusion
This guide walked you through the process of installing Apache on AlmaLinux 8. You updated your system, installed Apache, managed the Apache service, understood how configuration files work, configured the firewall, and ran a sample website. For advanced setups and to enhance your web server's functionality, consider exploring additional Apache configurations and modules.